Hello there. It's been a while. I'm sure you've read about and experienced some of the changes over at Counterfeit Kit. I haven't played since January and that's by design. Life has been quite busy, but I'm not willing to give up my scrappy space, so I devised a plan to keep my hand in CKC while giving myself some time to breathe between kits and blog posts. Fellow Master Forger Stephanie is also in a busy time in her life with a new little one to care for, so we are sharing a Master Forger position. You saw Stephanie feature her mini kit last month and this month I'll be sharing a full kit. So, that brings me to an every other month schedule. I'm hoping to jump in more often when I can, but at least I'll know I have a bit more time to assemble my kit. Sounds like a plan, right? RIGHT!
Well, you know what they say about best laid plans....
Oh dear...
I kind of had a problem. You see...my entire scraproom was turned upside down. My hubby was installing new flooring in the entire basement and everything had to be moved. And I have to admit, my stuff wasn't in the best order before he moved it all to put in the flooring. So, here I am...the day before the reveal...kitting and blogging away. This new plan was supposed to avoid that! ACK!
Oh well...
I managed to get things sort of back in order and sift through my stuff to put together my March Kit, most appropriately named, FLOORED!
In my true topsy turvy fashion, I haven't introduced you to the inspiration, chosen by Master Forger Margie and created by
Hip Kit Club. It's their February 2017 offering and it's a beauty.
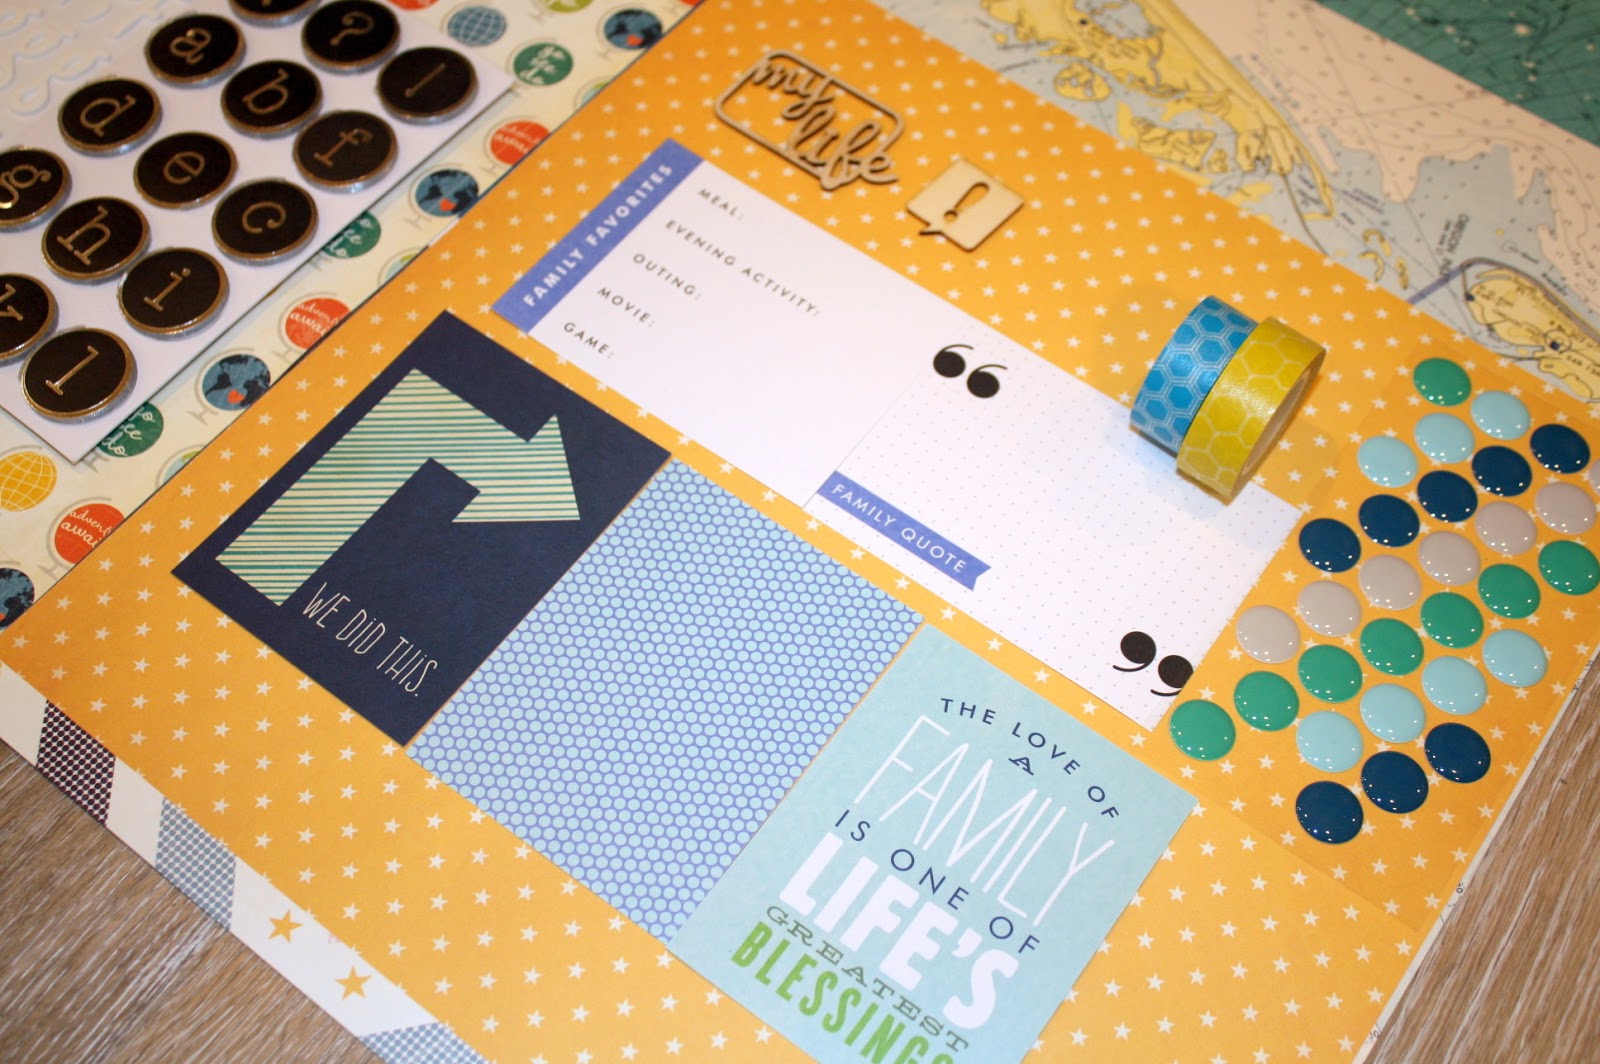
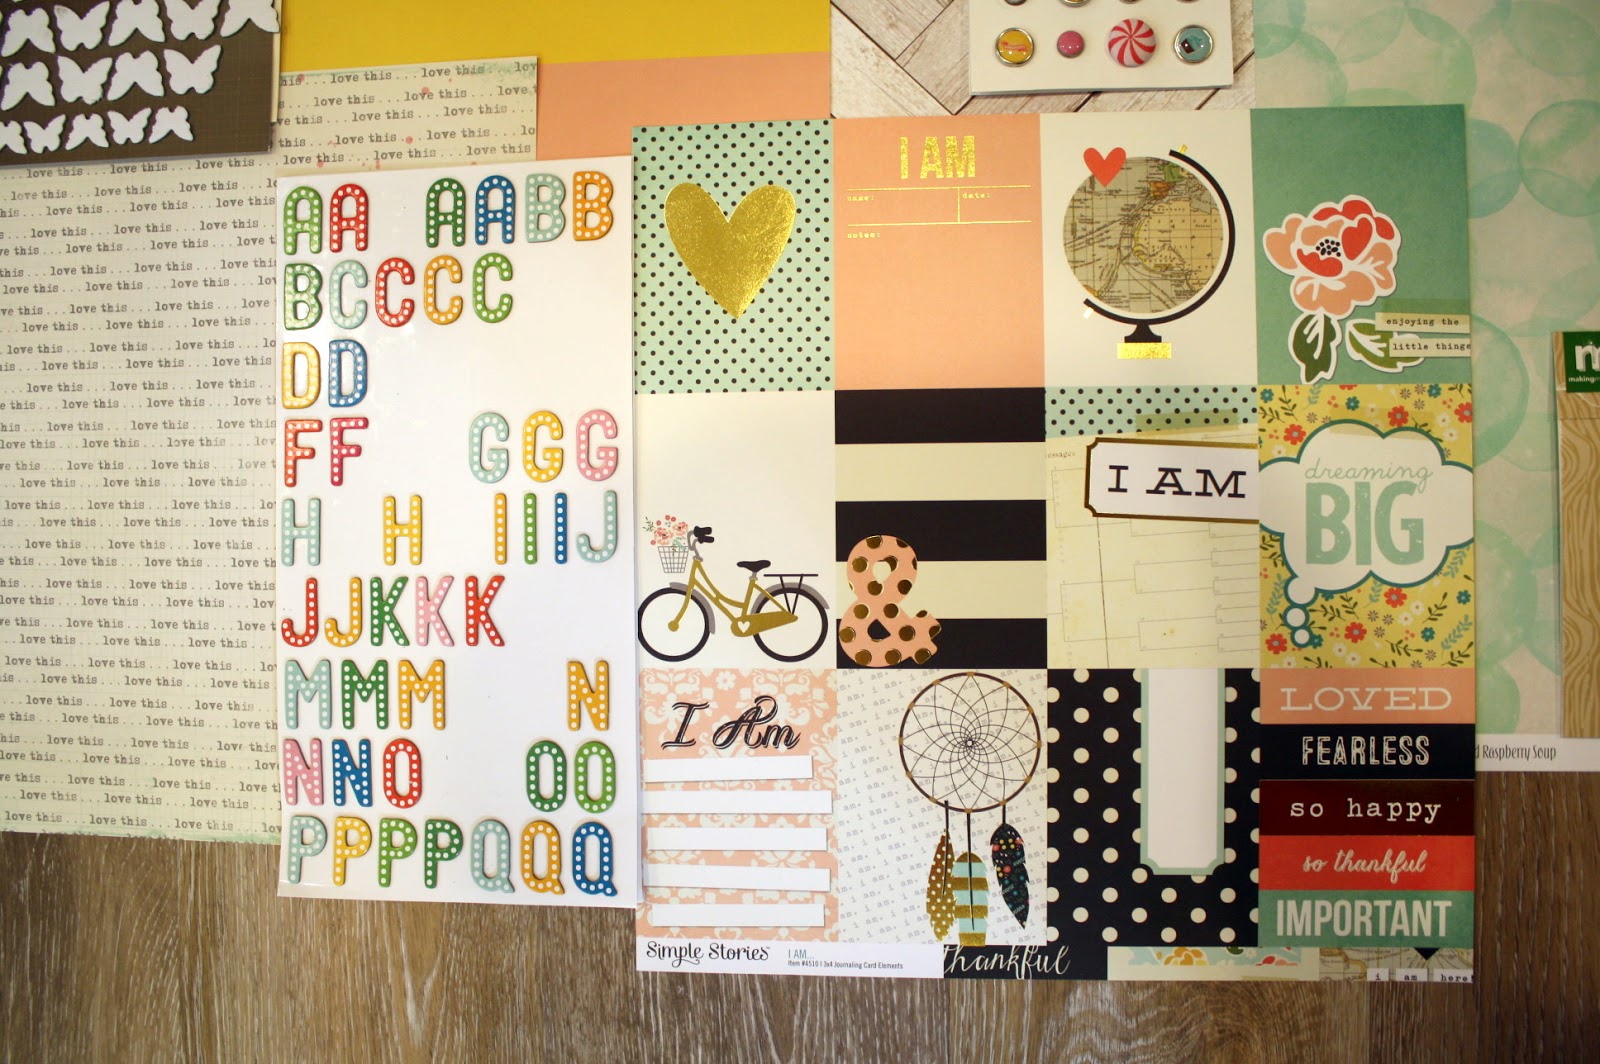
My kit adds a few more colors and less black than the inspiration, but I included camera and butterfly motifs, horizontal stripes and circles as created by bubbles. A touch of black is seen in the pocket cards. Hoping to mist or watercolor those butterflies to create the same vibe as the ones fluttering around in the inspiration.
Here are a few more close ups.
So, while I was "floored" on how I was going to possibly get my kit completed, it all worked out...as things usually do. (I'm getting wiser in my more mature years!)
I hope you aren't floored on how to approach this kit. If you are, then just take inspiration from our guest designer, Raelene and the other Master Forgers. Welcome, Raelene! We are proud to spotlight you this month!
Visit them at their blogs here for plenty of inspiration.
Guest Designer: Raelene:
http://dyspraxicorganisedscrapper.blogspot.com.au/
Julene:
http://julenebydesign.blogspot.com/Leslie:
http://lcsmithsaved-outofthemire.blogspot.com/Lynnette:
http://sassyscrapper2010.blogspot.com/ YOU ARE HERE!
Susan:
http://littlethingsbigdays.blogspot.com/
Oh and by the way, yes...that is the new flooring you see behind my kit in my scrap room
and I just adore it!
Thanks for stopping by!